Step 1: Create your nao context repository
1. Create a new folder / repository and initialize a nao projectnao_config.yaml, replace your secrets by environment variables
Instead of hard‑coding credentials (service account keys, API tokens, database passwords) in your config file, reference them via environment variables.This keeps sensitive values out of Git, makes it easier to rotate keys, and lets you reuse the same config across local, staging, and production. Example:
GCP_SERVICE_ACCOUNT_KEY_JSON via your deployment platform (for example, as a Secret in Google Secret Manager wired to an env var in Cloud Run).
3. Init a git repository from your context folder
Versioning your nao project in Git lets you review changes to context, roll back safely, and collaborate with your team using pull requests.
It also allows your deployed nao chat to directly sync with the contet in your GitHub repository.
Git Repository Setup
Learn how to turn your nao project into a GitHub repo and follow best practices
Step 2: Create Dockerfile
Create aDockerfile in your repository, using the official getnao/nao image as the base:
.dockerignore:
Alternative: use NAO_CONTEXT_GIT_URL instead of baking the project
If your nao context already lives in a Git repository, you don’t strictly need to copy the project into the container image.Instead, you can point the runtime to your Git repo via the
NAO_CONTEXT_GIT_URL environment variable and let the container clone it on startup.
At a high level:
- Image: use the stock
getnao/naoimage (or the Dockerfile above without theCOPYstep) - Git repository: the same repo you configured in
nao_config.yaml/ the Repositories docs - Environment variable: set
NAO_CONTEXT_GIT_URLto the HTTPS URL of your context repository
NAO_CONTEXT_GIT_URL makes the linkage explicit.
Authenticate with a GitHub deploy key (SSH)
For private repositories, use an SSH deploy key instead of a personal access token. nao clones context from both GitHub and Bitbucket. Generate aned25519 key pair, add the public key as a deploy key on the GitHub or Bitbucket repo (read-only is enough), and pass the private key through NAO_CONTEXT_GIT_SSH_KEY:
NAO_CONTEXT_GIT_TOKEN instead:
git@… / ssh://… requires NAO_CONTEXT_GIT_SSH_KEY, https://… accepts an optional NAO_CONTEXT_GIT_TOKEN. GitHub and Bitbucket host keys are pre-pinned in the entrypoint, so SSH connects to either without a known-hosts prompt.
Pick a branch or subpath
Two more environment variables let you scope what the container clones:NAO_CONTEXT_GIT_BRANCH- branch to check out (defaults tomain).NAO_CONTEXT_GIT_SUBPATH- clone only a subdirectory of the repo via sparse checkout. Useful when your nao project lives next to other code in a monorepo.
Step 3: Create a PostgreSQL database
- Create a PostgreSQL instance - here I’m using Cloud SQL.
- Allow unencrypted network traffic (or configure SSL).
- Enable Private API connections.
- Note your connection string / instance connection name.
Step 4: Deploy nao on your cloud infrastructure
In this guide we’ll use Google Cloud Run as a concrete example, but the same pattern applies to other container platforms (ECS, Kubernetes, etc.).You’ll build a Docker image from your nao project and deploy it to Cloud Run, connect it to a managed PostgreSQL instance (Cloud SQL), and load secrets via Google Secret Manager.
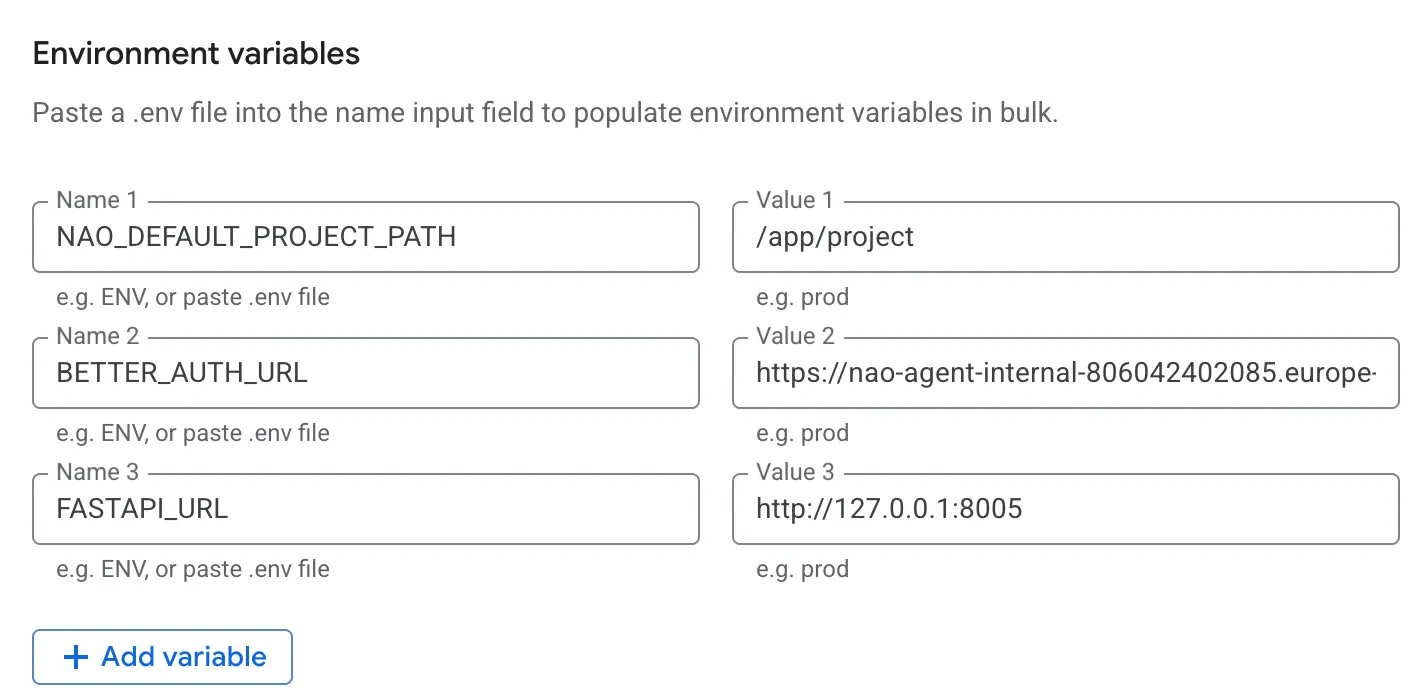
4.1 Configure Environment Variables
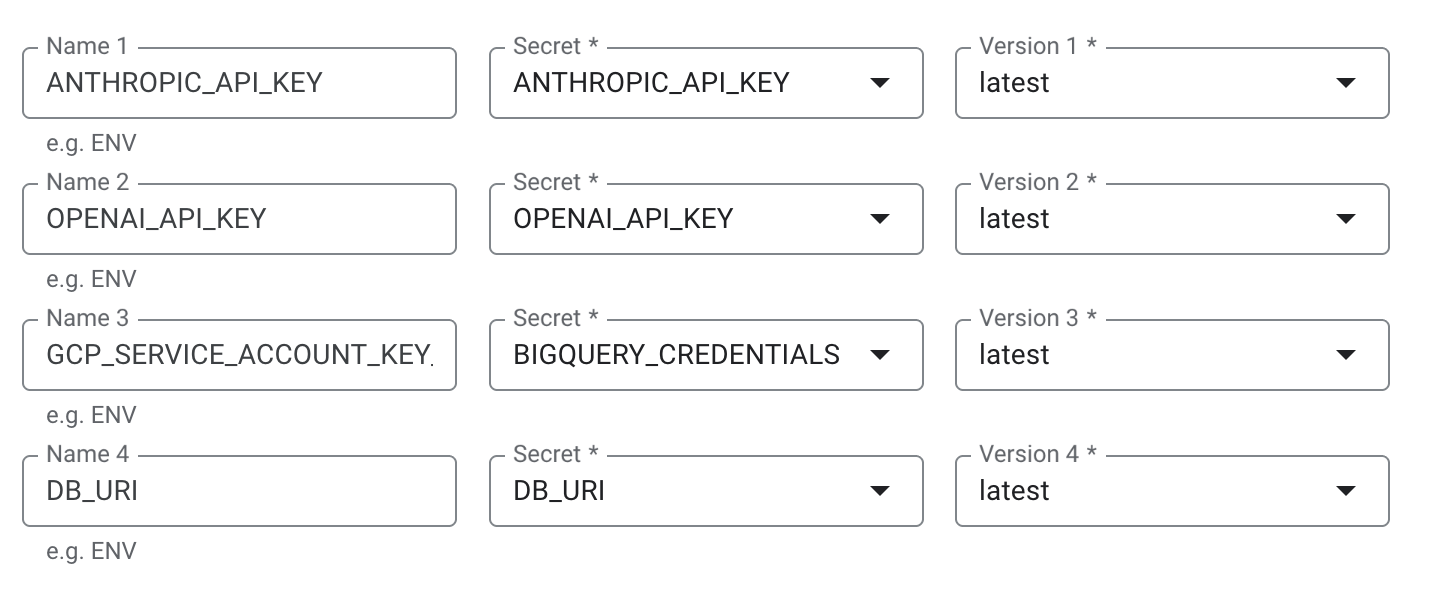
Create secrets in Google Secret Manager for all sensitive values:OPENAI_API_KEY/ANTHROPIC_API_KEYGCP_SERVICE_ACCOUNT_KEY_JSON(full JSON content of the BigQuery service account, or other warehouse provider secrets)DB_URIwith your PostgreSQL URI – used for storing your app DB. For example:
BETTER_AUTH_SECRET– a long random string used to sign authentication sessions. Generate one with:
- Any other secrets used in
nao_config.yaml(e.g. Notion key)
4.2 Configure Cloud Run service
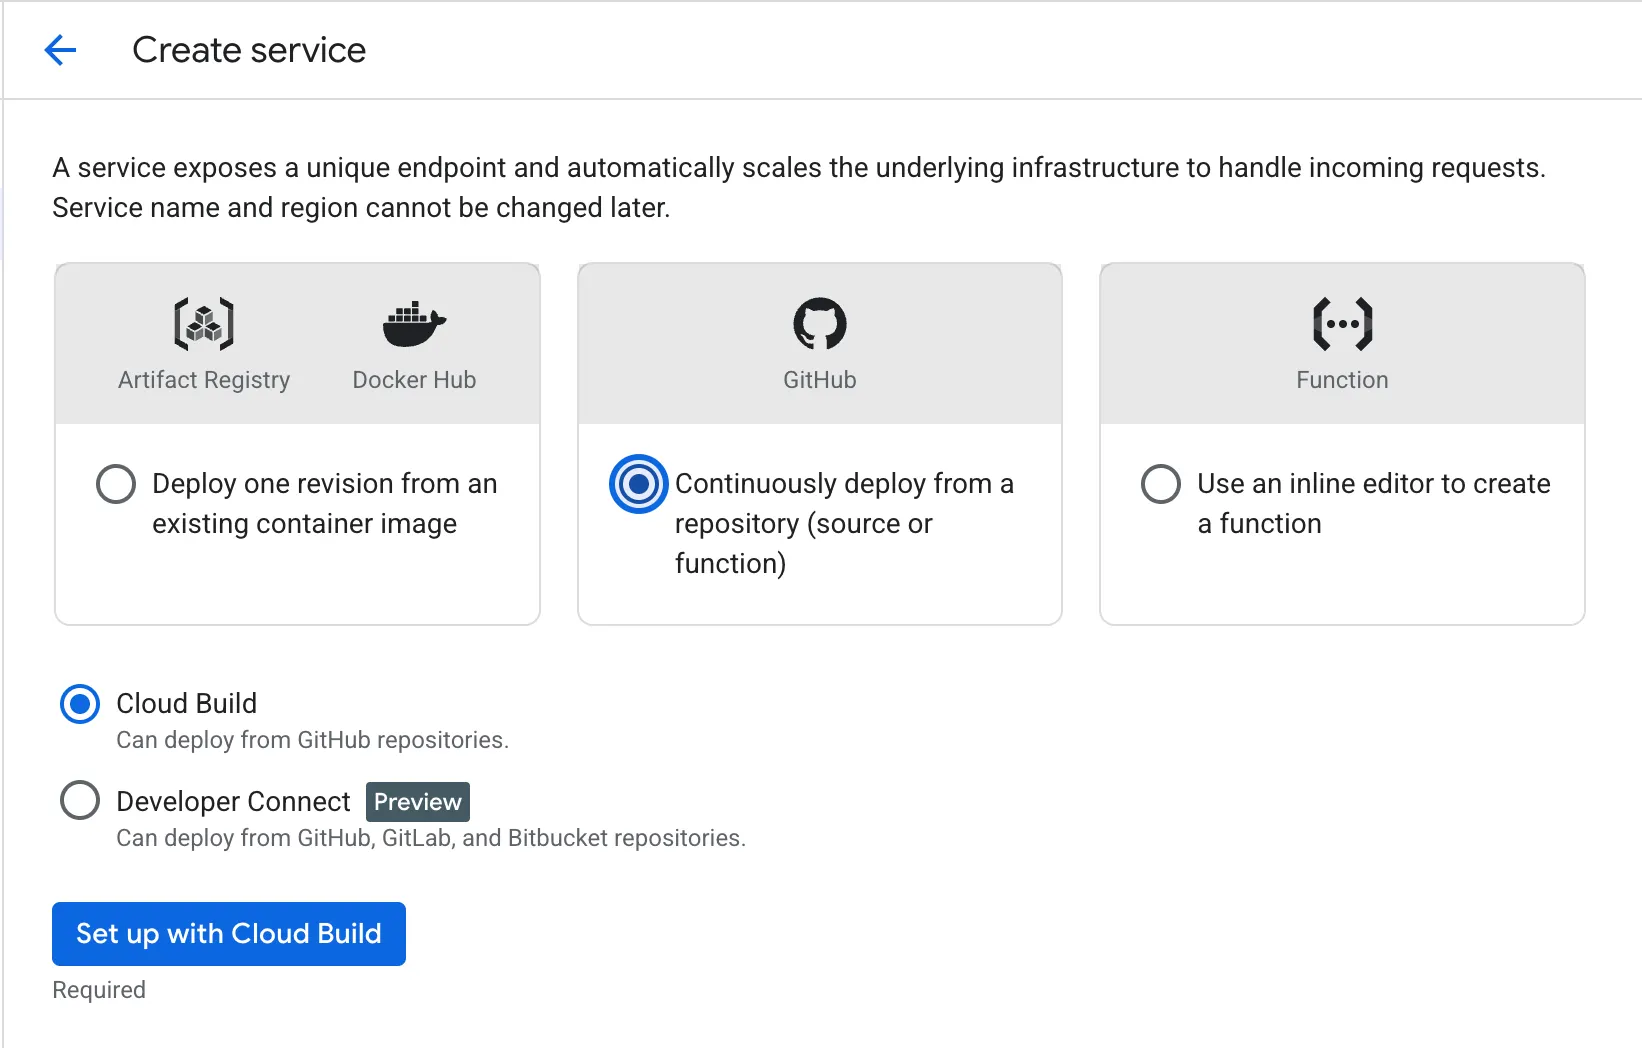
- Create a new Cloud Run service.
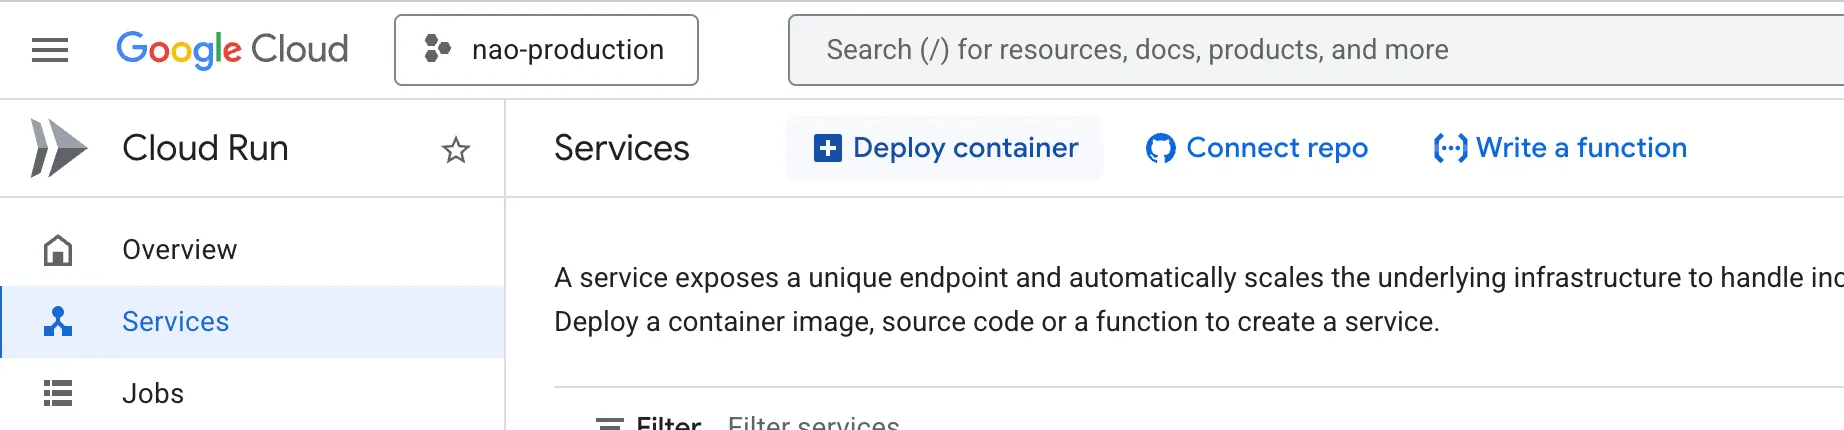
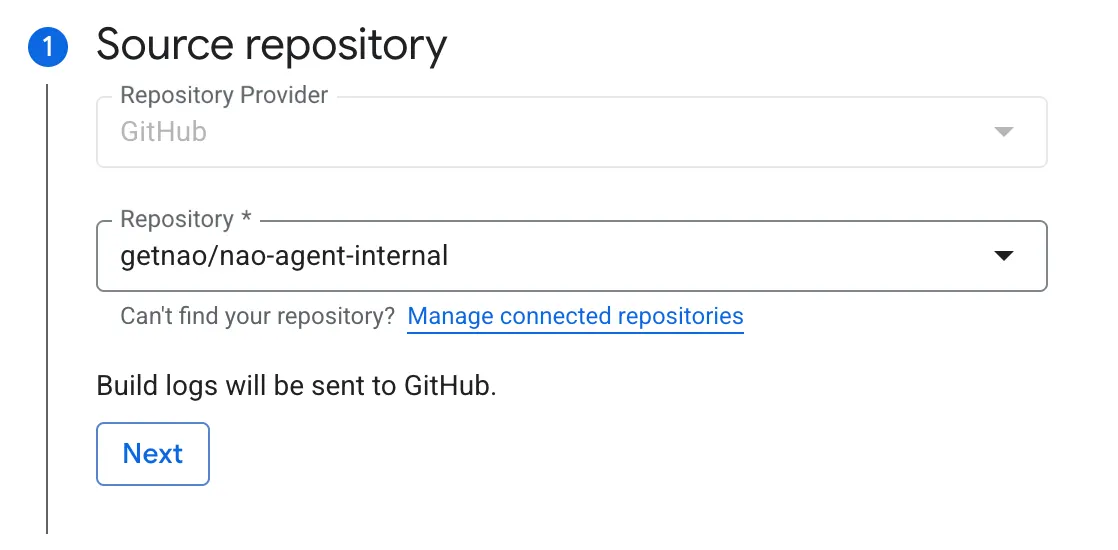
- Use your GitHub repository as the source and set up Cloud Build to build the Dockerfile.
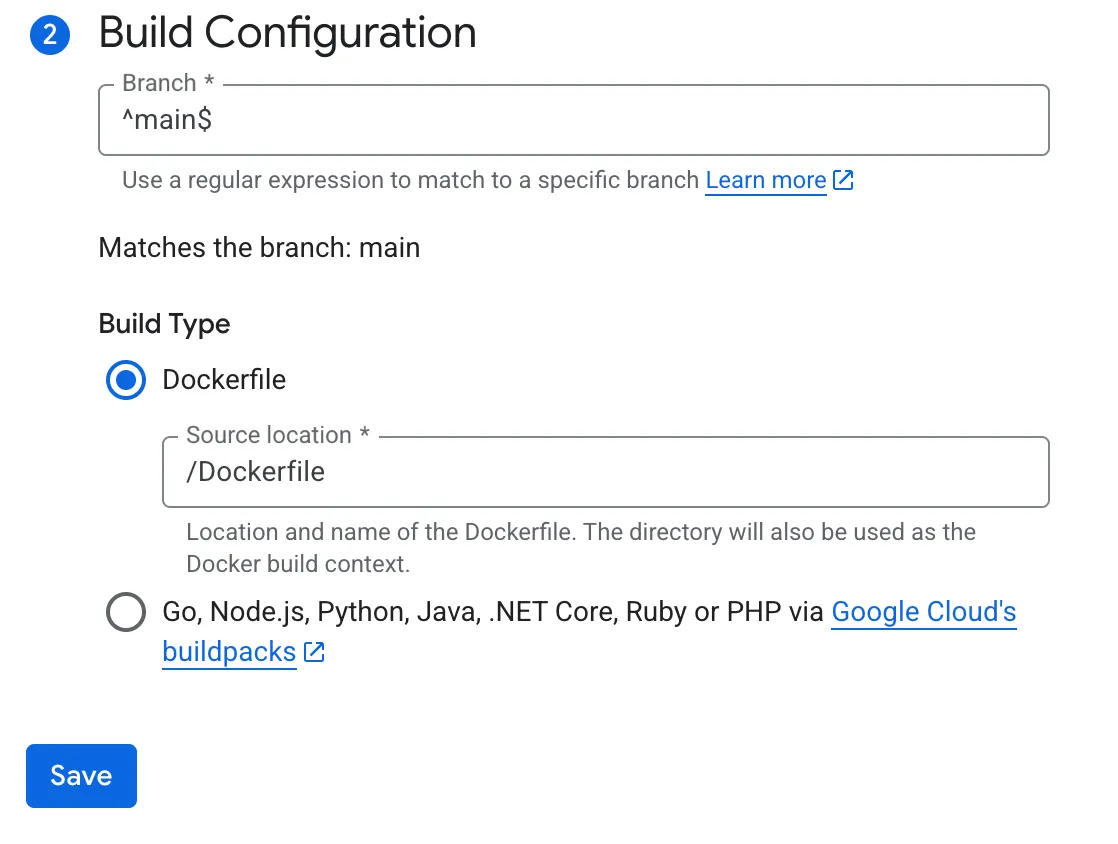
For Cloud Run deployments sourced from GitHub, Cloud Build will automatically rebuild and redeploy on each push to the configured branch.
So your context will always be up to date with the context in the main branch.
- In the service configuration, add these configurations:
5005
Environment variables:
OPENAI_API_KEY/ANTHROPIC_API_KEYGCP_SERVICE_ACCOUNT_KEY_JSONDB_URIBETTER_AUTH_SECRET– wire it from Secret Manager so the same value is reused across every revision. Without this, users get signed out on every restart.
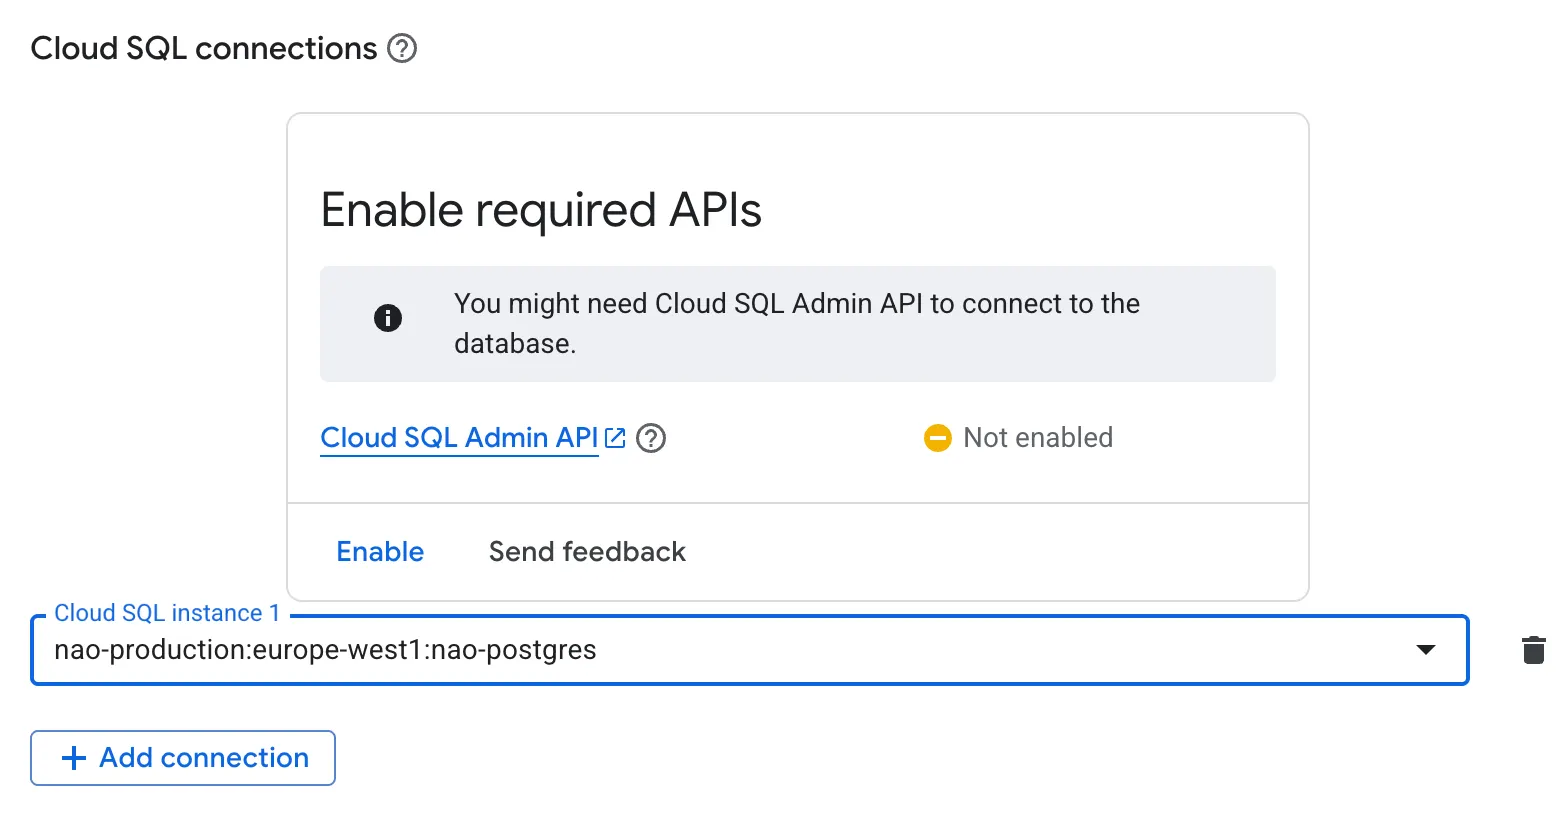
- Add Cloud SQL connection to your PostgreSQL instance.
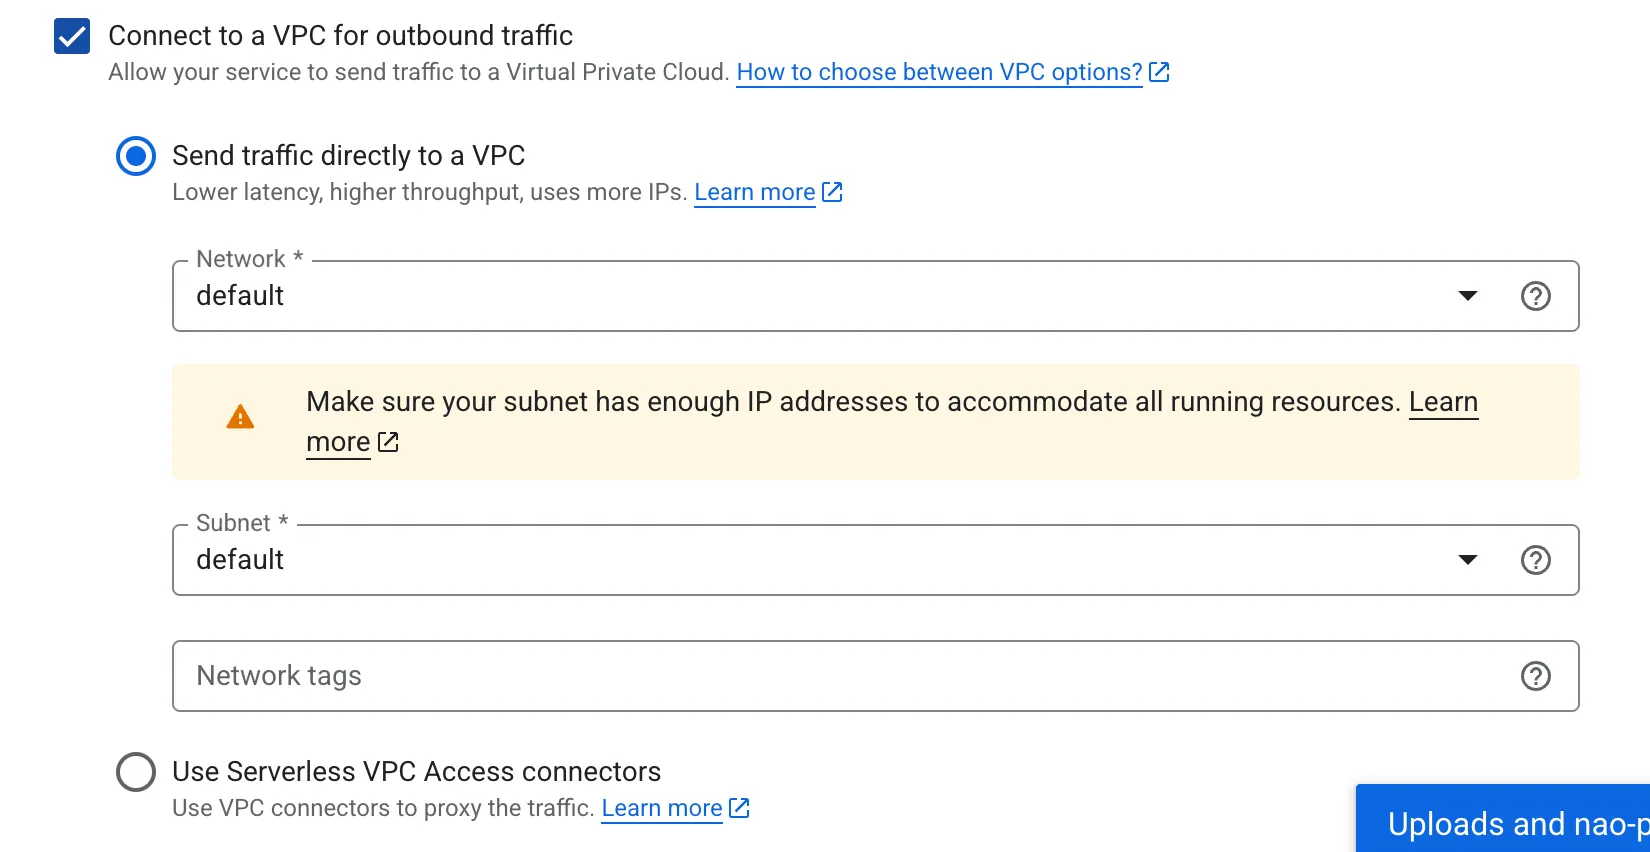
- Activate “Connect to VPC for outbound traffic” / “Send traffic directly to a VPC”
- Deploy the service.
- Once the service is live, copy the Cloud Run URL and update:
- Open this URL in your browser, confirm that the nao chat UI loads, and complete the first sign‑up flow.
At this stage, only the very first user can sign up directly; additional users are added and authorized later via the admin setup and user management flows.
- Map a custom domain (optional)
- In Cloud Run, go to Domain mappings.
- Verify your domain.
- Add the subdomain you want to use (e.g.
sky.naolabs.io). - Add the required DNS records at your DNS provider.
- Update
BETTER_AUTH_URLto the custom domain, for example:
Version update notifications
nao checks the latest release on GitHub and shows an amber notification at the bottom of the sidebar when your deployment is running an older version. The notification links directly to the release page so you can review what changed.- Visible to admin users only - non-admins do not see the notification.
- The GitHub check is cached for 1 hour to avoid rate limiting.
- Works for both Docker and CLI deployments.
- If the GitHub API is unreachable (e.g. offline environments), the notification is silently skipped.
Step 5: Customize your setup
5.1 Add users to your app
Once your chat UI is deployed, invite teammates and manage access from the admin interface.Admin Setup
Invite users, configure authentication, and manage access
5.2 Automate nao sync with GitHub Actions
Automatenao sync so your context stays up to date in Git.
Synchronization
Set up GitHub Actions workflows to automatically sync your context
5.3 Connect a Slack bot
Expose your analytics agent directly in Slack so teams can ask questions where they work.Slack Bot
Connect your deployed agent to Slack channels
5.4 Enable Google OAuth for user sign‑in
To allow users to sign in with Google and control which domains can self‑register:Google Auth Setup
Configure Google OAuth for domain-based sign-up